Italia Troller's site
How to install Automad in an external web hosting
For this tutorial, I’m going to use InfinityFree as an example, please note that some hosting providers have different features too!
1. Prepare your hosting and files
Download Automad’s zip, set up your hosting, popular hosting options include: GoDaddy, Cloudzy, Hostinger, iFastNet (InfinityFree), …etc
2. Install Automad
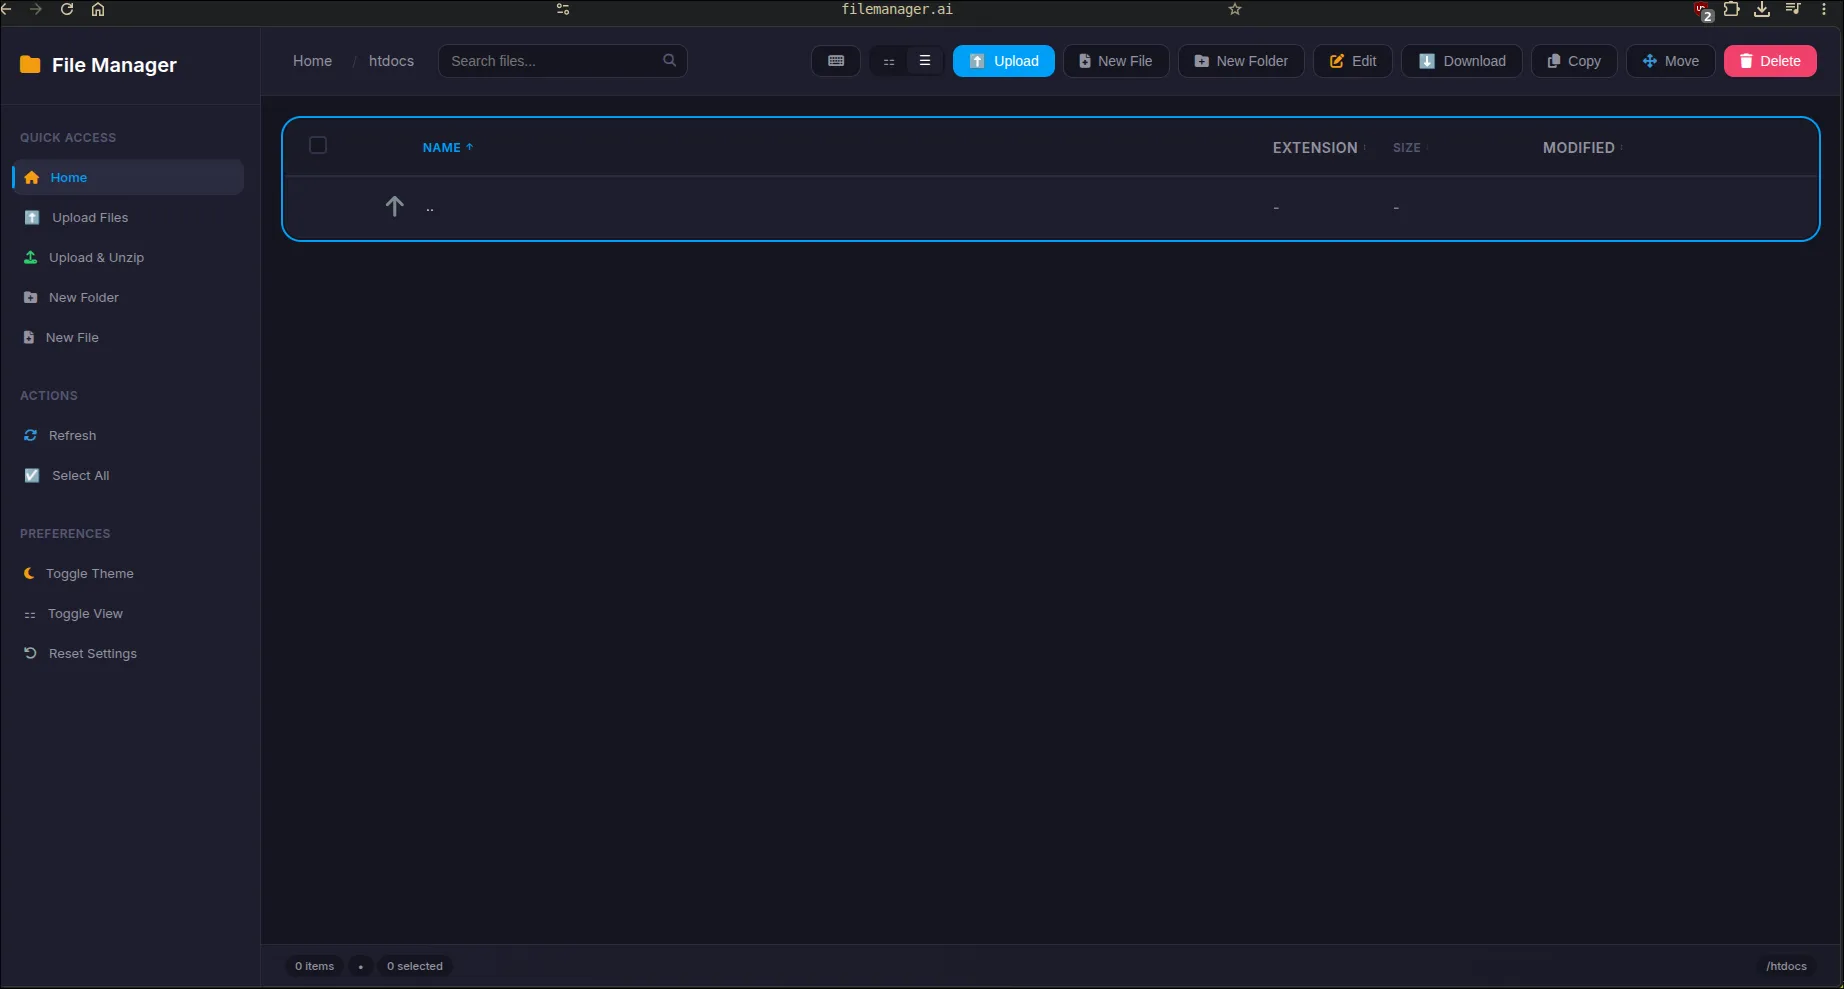
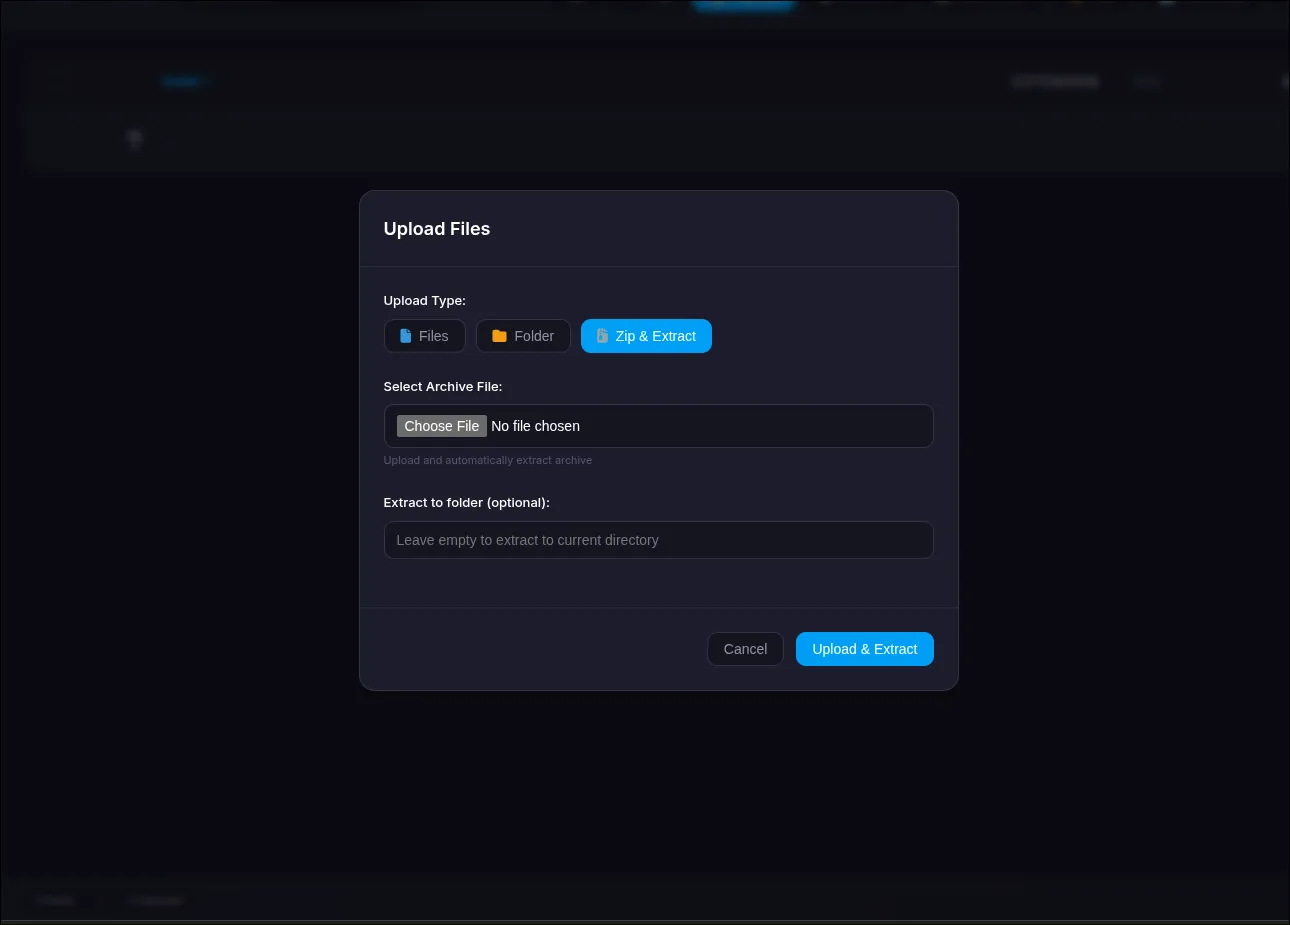
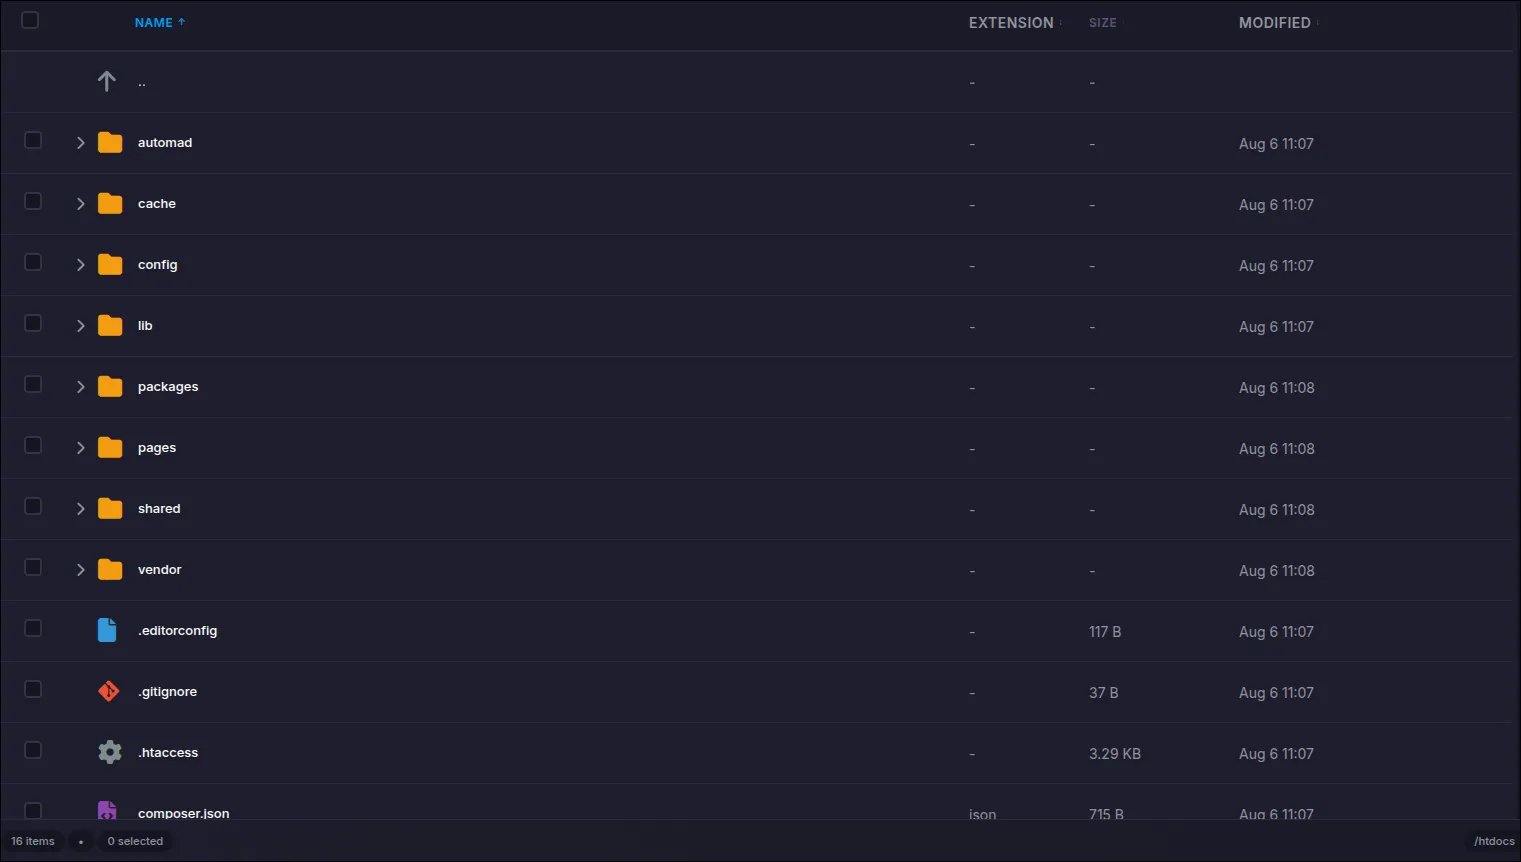
To install Automad on your hosting, go to the file manager, put the Automad zip on the public root directory (usually .htdocs). Depending on your file manager, there will be an extract option or upload zip, then extract, like this:
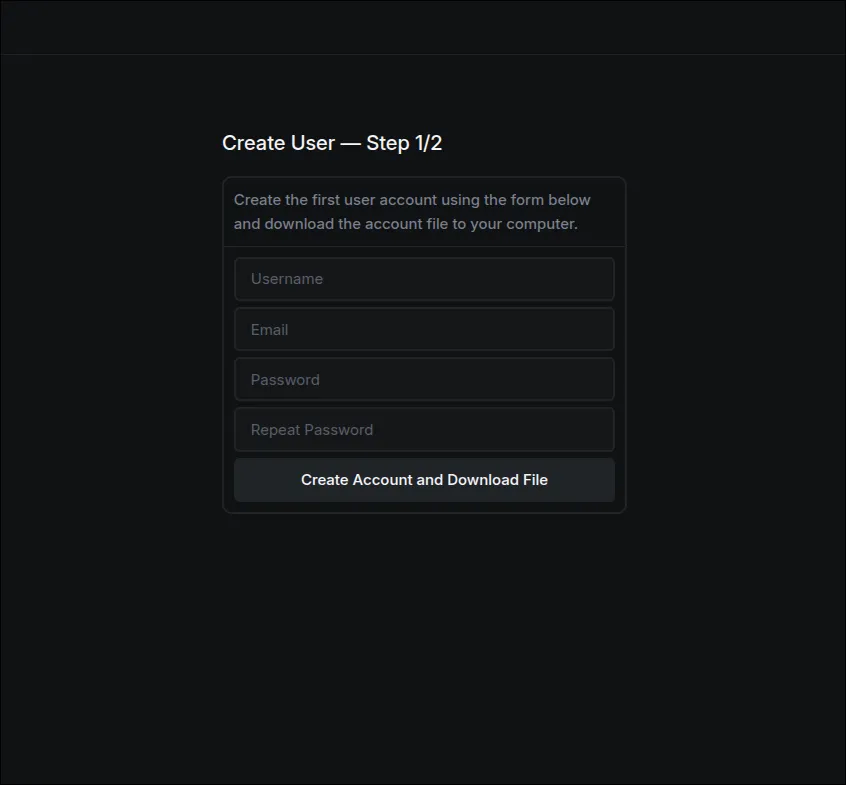
Now, go to your-domain.tld/dashboard (or your.sub.domain/dashboard) to access the Automad dashboard, then create your new user and download the accounts file.
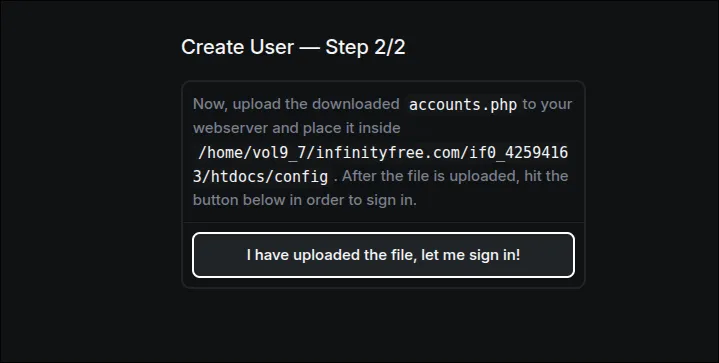
Now, back to the file manager
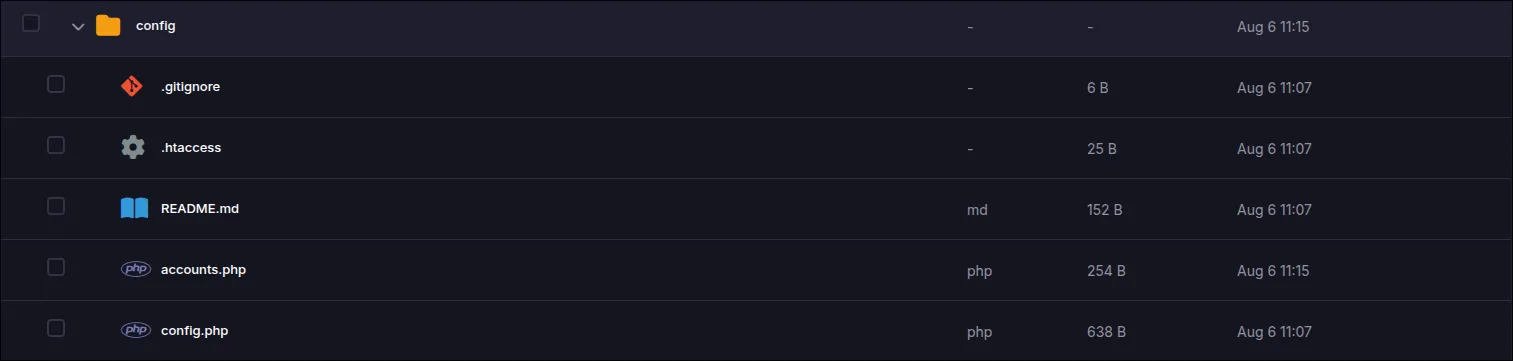
Upload your accounts.php to exactly the config folder
3. Finish setup, sign in and have fun creating your Automad website!